https://wereonanadventure.com/wp-content/uploads/2025/09/food-cover.jpg
466
653
wereonanadventureblog@gmail.com
/wp-content/uploads/2023/11/Were-On-an-Adventure-logo-1.svg
wereonanadventureblog@gmail.com2025-09-27 17:07:262025-09-27 17:07:26Eating Gluten-Free in UtahG-Free Travel Rating
6/10
Major Airport
Salt Lake City International Airport (SLC)
Official Language
English
Currency:
US Dollar (USD)
Power Outlets:
Types A & B
Our Top List of Things to do in Utah’s National Parks
We have been talking about going to Utah for a while now, but it has continuously been put on the backburner because we have been using our vacation to explore outside of the United States. Sometimes it is easy to get caught up in international travel and not see what is right under your nose. We finally prioritized it for a couple of reasons.
One being we were becoming exhausted from the long travel days. Because we can’t get off more than four weeks in a row, we pack our work schedules hard before and after the trip then hop on a plane (most often a red-eye) to get over the Atlantic Ocean and end up anywhere between 8 to 14 hours ahead of our time zone. We then proceed to jump full swing into our travel. It is a great way to see as much as possible, but we were realizing we were starting to dread the long flights and huge time changes. We decided taking a year to explore in the continental United States was a good idea.
Second, we could tag on a bunch of things. I have never been to Las Vegas so we checked that off. I have been wanting to hike the Narrows at Zion National Park and see Bryce Canyon so we checked those off. We were able to get my Dad two 5ks (Nevada and Utah), so that was done. My parents wanted to see Utah’s National Parks so we were able to help that along. My parents need to use some of their points for the Hilton Grand Vacations Club so we were able to use those in Las Vegas. Ultimately, this trip was overall really productive. Let’s dive into some of Utah’s National Parks.
Zion National Park
Important Tips:
- Nearest international airport: Harry Reid in Las Vegas. But there is a regional airport a little closer if that is more appealing…St. George Regional Airport (SGU)
- We recommend renting a car with high clearance in case some of the trailheads you are interested in starting from require off roading.
- During the Shuttle Season (normally May through mid-November) cars are not allowed to drive Zion Canyon Scenic Drive, UNLESS you are staying at the Zion National Park Lodge.
- Shuttles can get packed at peak times…no reservations are needed
- Parking during peak season is challenging but doable. No cost to parking inside the park.
- There is a fee to enter Zion National Park and depends on how you enter and if you want an annual pass. I do want to point out they do give lifetime passes for military/veterans that allow free entrance. Thanks Terry for your service!
- Shortly after leaving the visitor center you will have very limited or entirely lose cell service so plan accordingly in regards to downloading maps and having a plan.
- If heading to an overlook for a sunset, plan to be there at least 30 minutes prior to the sunset time to ensure you are there to watch it go over the mountains. We tried a couple times to catch the sunset and hit each place at the sunset; however we didn’t take the mountain peaks into consideration for catching it at the right time.
- If you want to camp in the park, make sure to make your reservations well in advance to guarantee a spot. Otherwise, there are plenty of hotels or Airbnb’s to stay out outside of the park.
Popular Hikes
Watchman Trail
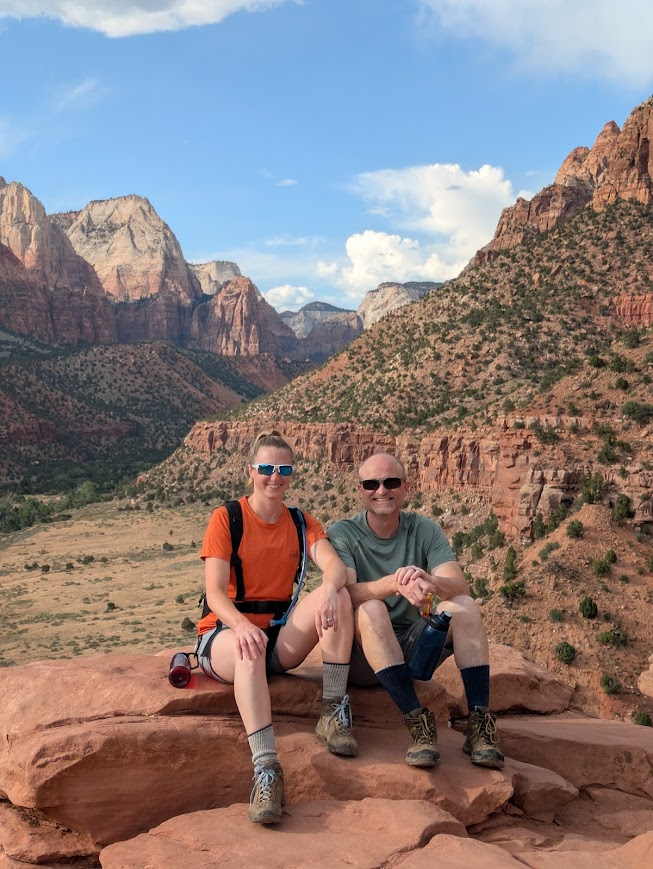
No shuttle is needed for this trail, you can leave right from the visitor center. Which means you have access to both bathrooms and water at the beginning of the trail. Not much in elevation gain but there are short bursts of inclines that will get your heart pumping. The trail itself is well-maintained and pretty easy walking. Hiking shoes are recommended but regular tennis shoes would do just find. They might get a little dusty. Not much in regards to shade so make sure you have plenty of water and sunscreen. The trail is an out-and-back with a small loop at the top enabling you to get views of both Springdale and the lower part of Zion Canyon. The total distance is about 3.3 miles.
Emerald Pools
This hike actually takes to three different pools; lower, middle and upper. When we went the lower emerald pools the trail was closed so we had to use the Kayenta Trail to connect us to the pools. While this trail is not paved like the lower emerald pools trail, it is well traveled. It is sandy with some loose gravel. Because it brings you to a different part in the collection of the pools, you will have to descend down to the lower via stairs and then back up to the middle then can continue up farther if you want to see the upper emerald pools. With using the Kayenta Trail our total distance to see all the pools ended up being just over two miles. When we went it was very dry so there was not much to look at. You need to take the shuttle to either stop 5 or 6 depending on what is open.
Canyon Overlook
A great place to catch the sunset. This hike is one where you would have to drive to and there is a extremely limited parking near the trailhead. This trailhead is right after you come out of the Zion-Mt. Carmel Tunnel. There are bathrooms but no water stations. The trail is out-and-back with some stairs. There are handrails at any inclines/declines and across the planked boardwalk. The total distance is 1-mile plus the distance to your car.
Riverside Walk
A nice leisurely paved walk leading you to the Narrows trailhead. You have to take the shuttle to stop 9 – Temple of Sinawava. If you are just completing this walk then special shoes are not required but if you plan to continue into the Narrows we recommend sturdy shoes. This is a relatively flat 2.2 mile hike.
Angels Landing
Given the popularity of this hike and its knife-edge ridge with little room to pass fellow hikers, this hike requires a permit. We did not complete this hike because it didn’t seem appealing to me to stand in a queue in hot weather without shade. We had enough of an experience when hiking to Everest Base Camp. If you are up for a rush of adrenaline then give this hike a shot. The last 1/2 mile has chains to help guide hikers safely across the path.
The Narrows:
This is a very popular hike (probably the reason a lot of people come to Zion; it was for us). It is the last stop on the shuttle at Temple of Sinawava, because it is so popular they had at least two shuttles queued and ready to go to take people back to the visitor center when we went in May. They also have porta potties and drinking water available at this stop. You must walk the Riverside Walk to get to the the Narrows trailhead.
There are two ways to hike the Narrows. One is as a through-hike and the other is Bottom-Up. If you want to do the through hike (top-down) a permit is REQUIRED. The through-hike is a 16-mile hike starting at Chamberlain’s Ranch and ending at the Temple of Sinawava. Most people complete this hike in ~10 hours but it can be split into two days. If you would rather split the hike into two days, then you must get an additional permit for overnight camping. To hike it from bottoms-up, no permit is required; however, you can only go as far as Big Spring. Because of this it is an out-and-back trail that is roughly 9.4 miles if you make it all the way to Big Spring.
Our Experience:
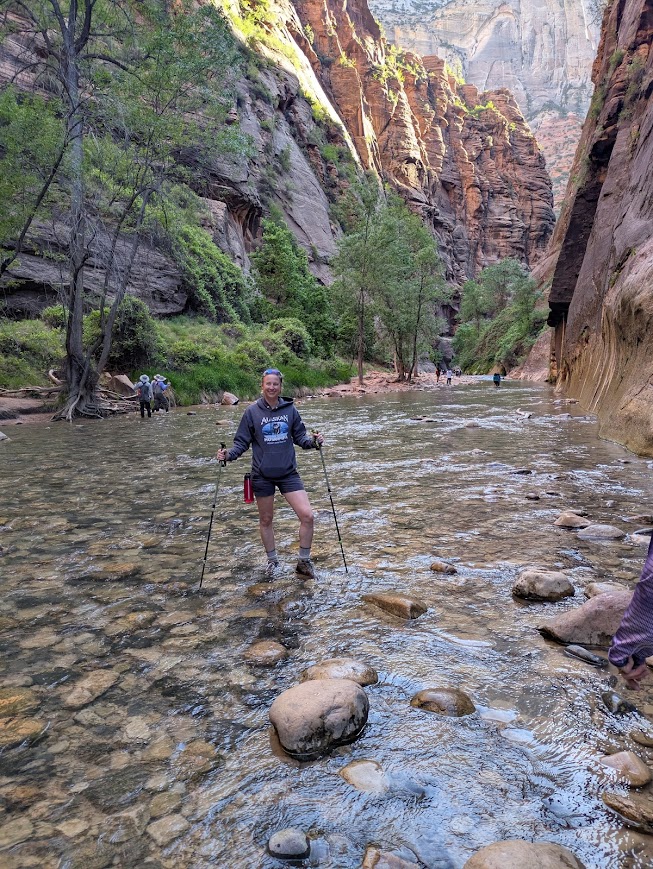
While we did not get on the first shuttle, we were still at the trailhead by 7:30. This beat quite a few of the crowds but the later it got, the more people came. When hiking the Narrows you are hiking in the Virgin River. Your feet will get wet!! Depending on how recently it rained and how soon you went after the snow melted will depend on how deep you will be hiking in. The highest we got was just above the waist. To be honest, that happened about 1/4 mile into the hike which was a nice introduction to the freezing water. Because the sun had not reached down into Zion Canyon, it was about 55oF, so we were quite cool throughout the hike. We made it 1.5 miles in and then decided that was far enough.
We recommend taking sturdy shoes and hiking poles for this hike. You kind of hike this trail via feel. Some of the Virgin River is nice and sandy making it a smooth walk the rest is river rock making it easy to trip and slide. There are companies that rent shoes and hiking sticks specific to this hike if you are interested. We also saw kids in wetsuits to help them stay warm and a few people wore waders that went up to their chest. The latter is a tad risky because there were a few people who said the water was chin deep in parts and that would not be fun if it went over your waders. We definitely should have taken more layers along.
Bryce Canyon National Park
Important Tips:
- Nearest international airport: Harry Reid in Las Vegas and Salt Lake City International Airport (SLC) are both about 4 hours away.
- We recommend renting a car with high clearance in case some of the trailheads you are interested in starting from require off roading.
- Parking during peak season can get challenging but is doable.
- They do have a shuttle but it does not go the entire length of the scenic drive…out to Rainbow Point.
- No cost to parking inside the park. And most of the major viewpoints have large parking lots with people helping direct traffic. We did not have any issues parking over Memorial weekend 2025.
- Similar to Zion, Bryce Canyon has an entrance fee that depends on how you enter and if you want an annual pass. I do want to point out they do give lifetime passes for military/veterans that allow free entrance. Thanks Terry for your service!
- If heading to an overlook for a sunset, plan to be there at least 30 minutes prior to the sunset time to ensure you are there to watch it go over the mountains. We tried a couple times to catch the sunset and hit each place at the sunset; however we didn’t take the mountain peaks into consideration as to the timing of actual sunset.
Popular Hikes and Scenic Overlooks
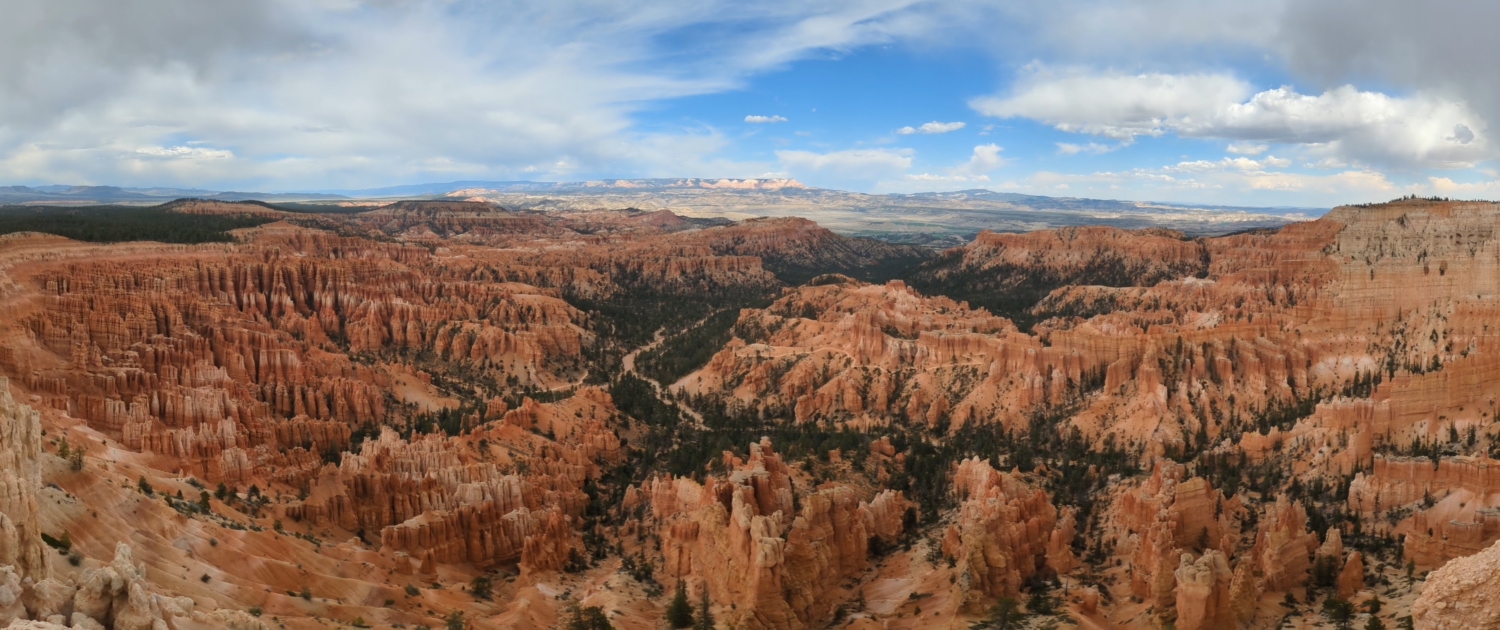
In our opinion Bryce Canyon is more dramatic than Zion and can be seen in 1 to 2 days. The Scenic drive is roughly 18 miles with multiple breathtaking vistas to stop at. Some even have trails for you to get out and stretch your legs if desired.
Queen’s/Navajo Combination Loop
For the combination loop you will hike both Queen’s Garden and Navajo Loop. The recommended starting point is Sunrise point and finishing at Sunset Point. It is recommended that you hike it in a clockwise direction for a couple reasons. First, you hike facing the views of the Bryce Canyon Amphitheater instead of them facing your back if you hike it counter-clockwise. Descending the Navajo side is steeper and more people have a tendency to slip going this way. We went clockwise and it worked out great. The trail is wide enough for two people the whole way, but it is loose sand gravel at points that can make it more slippery.
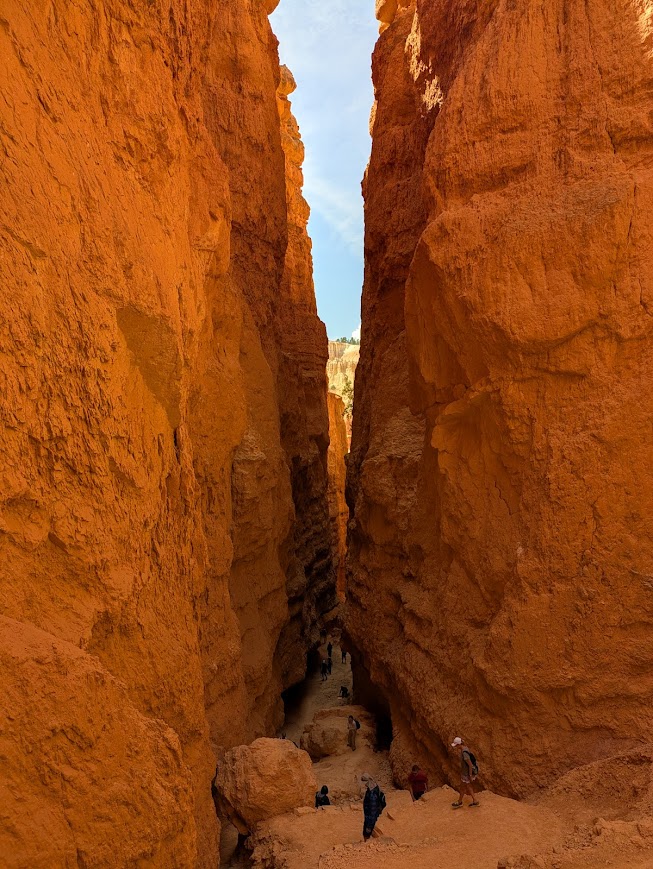
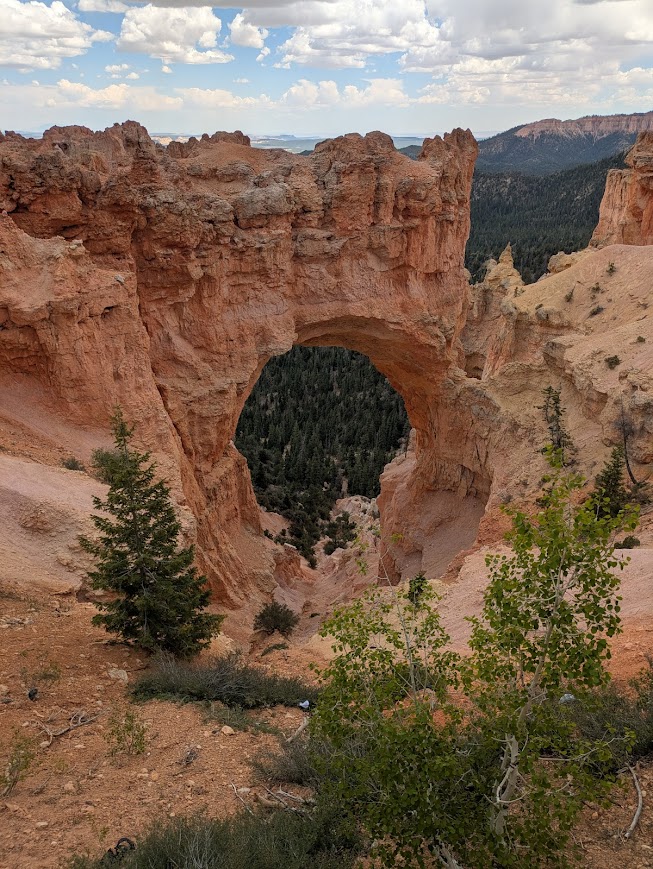
Once you reach the Navajo loop you ascend by two different paths. One goes by two natural bridges (open all year round) and the other is known as Wall Street. We did Wall Street; boy were we glad! It provided us with some much needed shade and since we were down amongst the hoodoos it was still cool. The total distance for this combination was 3 miles.
Mossy Cave
Located off Highway 12 away from the rest of the viewpoints in the park. I would actually call it outside the park. It is a short hike along a stream with views of a waterfall in the summer. The cave itself was not very impressive and was up a short steep incline. If you brought appropriate attire go for a dip in the stream or take your picture under the waterfall. There are two parking lots for cars since the shuttle does make it out here.
Popular Spots on the Scenic Drive:
The total scenic drive is 18 miles and takes about 35 minutes to drive without stopping. We recommend driving all the way to the end of the drive first without stopping and then on your way back stop at as many stops as you would like. We suggest this so you are worrying about having to cross traffic by taking left turns in and out of the parking areas. Not a big deal but a little more convenient. Some of the big vistas have bathrooms at them. We definitely recommend stopping at the following vistas:
- Sunrise point: Has parking. Overlooks the Queen’s Garden trail
- Sunset Point: Has parking but can walk from Sunrise point (the path is paved). Can see the switchbacks of Wall Street portion of the Navajo trail.
- Inspiration Point: Has the main overlook but can hike up a steep incline for a better view.
- Bryce Point: A small hike to get to the overlook of the amphitheater. It was very windy when we went which caught us a little off guard as it did everyone else there.
- Natural Bridge: Has a small turnoff parking lot.
- Yovimpa Point and Rainbow Point: Share a parking lot but Rainbow Point is the highest in elevation. Can follow a paved path between the two. You can also find bathrooms and a picnic area here.
There are many other places to stop on the drive but these are just a few highlighting the different rock formations. To get the best views of the dramatic hoodoos you want to check out Bryce, Inspiration, Sunrise and Sunset points.
Capital Reef National Park
A Lesser known Park still Requiring Important Tips:
- Nearest international airport: Salt Lake City International Airport (SLC).
- We recommend renting a car with high clearance in case some of the trailheads you are interested in starting from require off roading. This park has unpaved roads at different parts so please plan accordingly. If you plan to head towards Cathedral Valley to see the monoliths in the northern section of the park then a high-clearance vehicle is required.
- Parking during peak season can get challenging but is doable.
- No cost to parking inside the park. And most of the major viewpoints have small parking lots.
- Similar to Zion, Capital Reef has an entrance fee that depends on how you enter and if you want an annual pass. I do want to point out they do have lifetime passes for military/veterans that allow free entrance.
Popular Hikes and Scenic Overlooks
Capital Reef took me a little by surprise. I wish I would have allocated an extra day exploring here and one less day in Bryce Canyon. We were on our way to Salt Lake City from Bryce and decided to add this as a stop because it wasn’t too far out of the way.
Hickman Bridge Trail
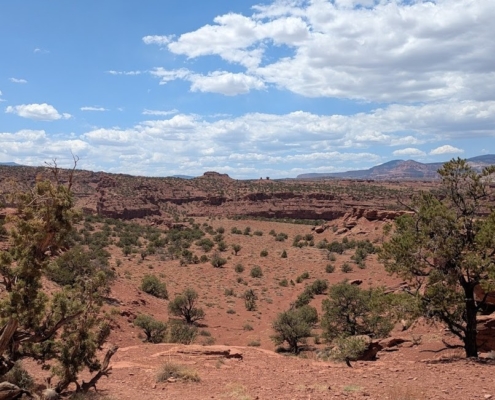
The one and only hike we did here. We almost didn’t make it because it was so hot with no shade on the trail, except in the picture provided to the left. I am finding that as I age I seem to tolerate heat less. For a shorter hike there was a lot more inclination with stairs than anticipated. There were bathrooms at the trailhead and a small parking lot. Water stations were only at the visitor center that we could find. It is a 1.7 mile out-and-back trail.
Scenic Drive
It is 8-miles long, but it provides breathtaking views of the water-pocket fold. Plan for the drive to take way longer than you think it should. The end of the drive ends in an unpaved road so please make sure you have a car that is appropriate for that.
Fruita
This is where you will find the visitor center with a water station. Farther down the road you end up in a historic district where you can explore an old schoolhouse, blacksmith shop and the Gifford House. You will definitely want to stop at the Gifford house and have a homemade pie- what they are known for. Unfortunately, they are not gluten-free so Terry could not have one and I don’t eat pie so just my parent’s enjoyed their pies. They have plenty of picnic tables for people to sit and enjoy their pies with jaw-dropping views in the background. No additional fee to enter the area, but there is a fee for the pies.
Overlooks
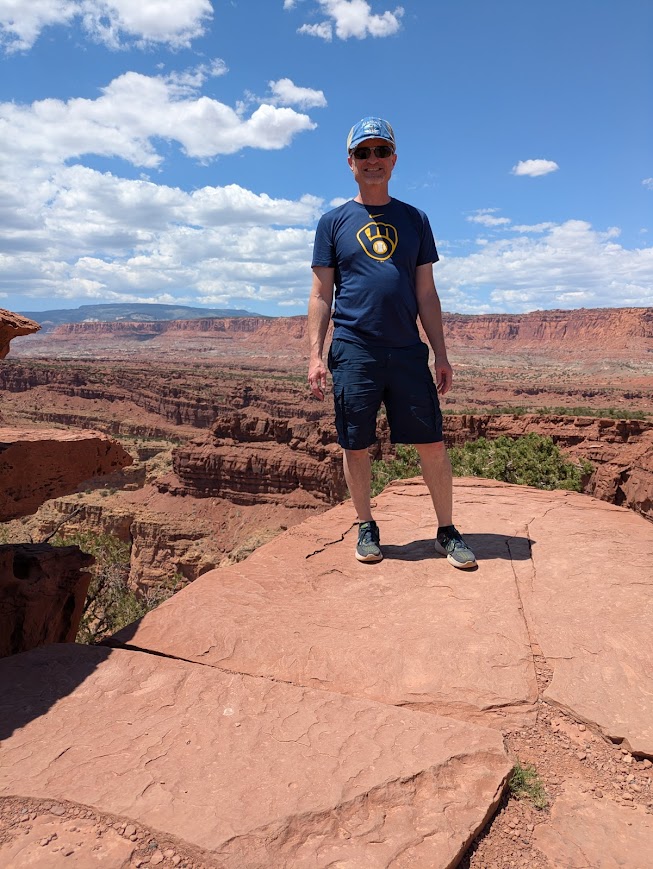
Clustered at the beginning were our favorites: Panorama Point and then down a gravel road to Gooseneck and Sunset Points. You don’t need high-clearance vehicles to get to those points. No bathrooms or water stations so make sure you have enough water to get you either out to a gas station or in to the visitor center. There is no shade and it can get very hot.
Unfortunately, that is all we could do in the couple of hours we had allocated for this park. If you can, try to give it a whole day. I would guess a lot of people do the same as we did because there weren’t many tourists here, except for sampling the pies.
Grand Staircase-Escalante National Monument (GSENM)
Grand Staircase-Escalante National Monument Important Tips:
- Nearest international airport: Salt Lake City International Airport (SLC).
- We recommend renting a car with high clearance if you plan to explore the depths of this area. To be honest a 4WD vehicle would be best.
- Parking was not an issue at all at the places we stopped.
- No Entrance Fee
- Travel times can get long due to the unpaved roads.
- Make sure to have plenty of water, food and gas with you.
Points of Interest
We took the longer way to Capital Reef National Park to stop and explore a little of GSENM. Most people don’t stop and explore this area or even take scenic HWY 12 to get to Capital Reef. Unfortunately, I didn’t initially plan this into our schedule so we had to cram this into the same day as Capital Reef and still make it to Park City. Needless to say this was a very long day, but it had plenty of breaks to get out of the car. We would definitely go back and do some of the slot canyons trails like Zebra Canyon or Peekaboo and Spooky Canyon trails.
Escalante Visitor Center
Located in the town of Escalante, it a great place to make sure you have all the gear you need to start exploring. Learn a little of the history of the area and grab some maps to help outline your route. You will eventually lose cell service so having a hands-on map will be potentially useful.
Scenic Drive
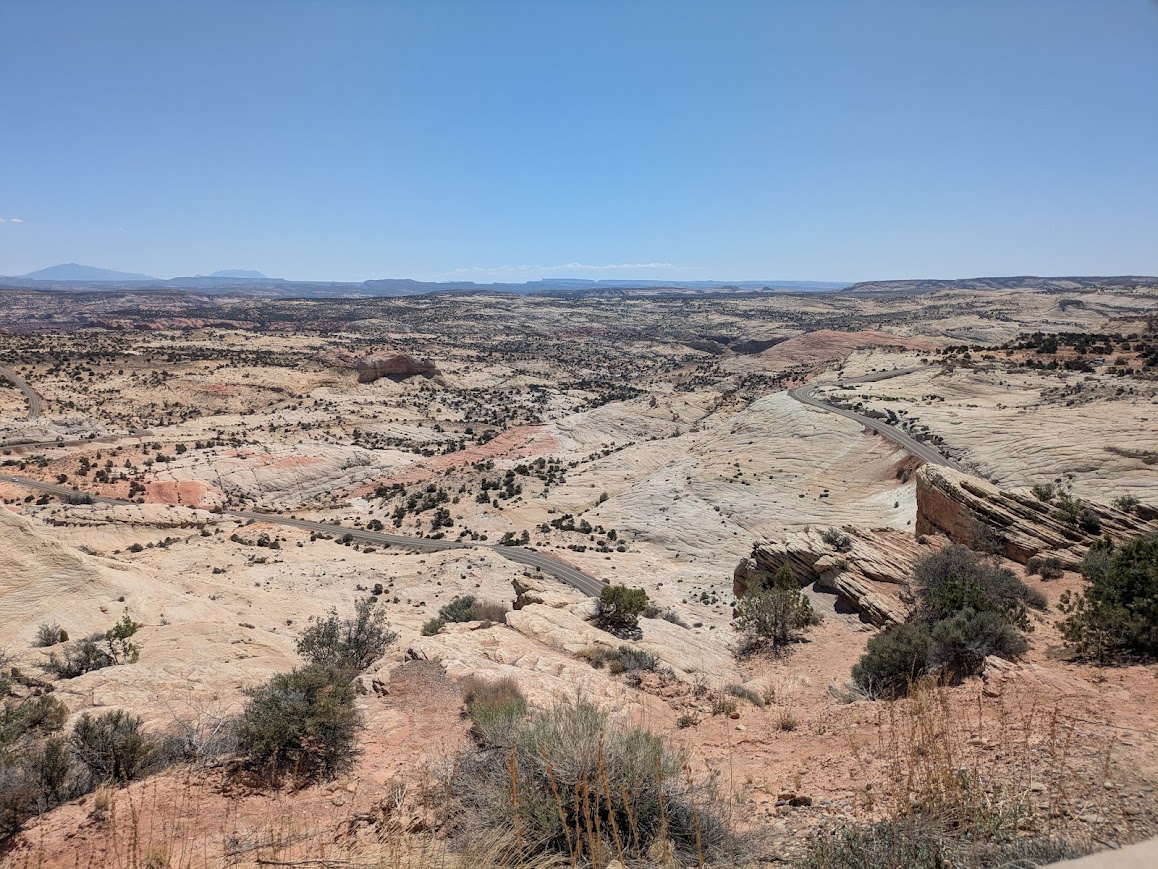
Highway 12 that goes from Bryce Canyon to outside Capital Reef National Park is designated as an All American Road Scenic Byway. It traverses rugged landscapes ranging from desert canyons to narrow ridges and onto lush forests. Each bend you go around offers a breathtaking vista.
Long Canyon Slot
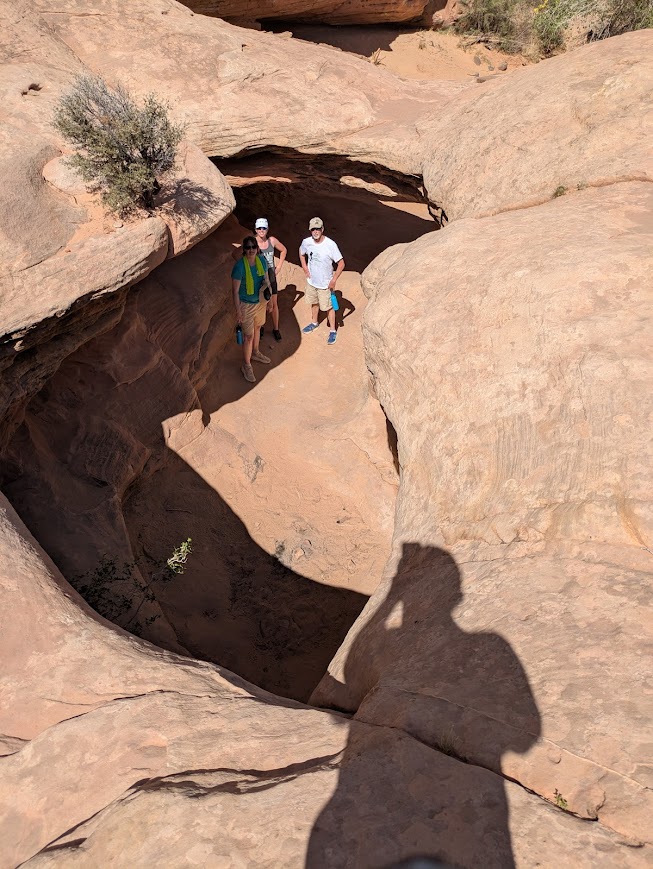
I know the name makes it seem like it could be a challenging hike; but really it is only 1/4 mile long. We detoured to this canyon because it was only 11 miles from the scenic byway and could connect to Capital Reef. Google maps struggled with the exact location of this trailhead…I’m pretty sure it was unmarked when we went. We finally saw something that could resemble a turnoff for a car, so we stopped and low and behold it was the right spot. This is a paved road to get to this small slot canyon but with all the sharp turns it took like 45 minutes. Needless to say we decided to go back the way we came and not try the unpaved road to Capital Reef. Between that and the lack of cell service we did not want to push our limits.
Devil’s Garden
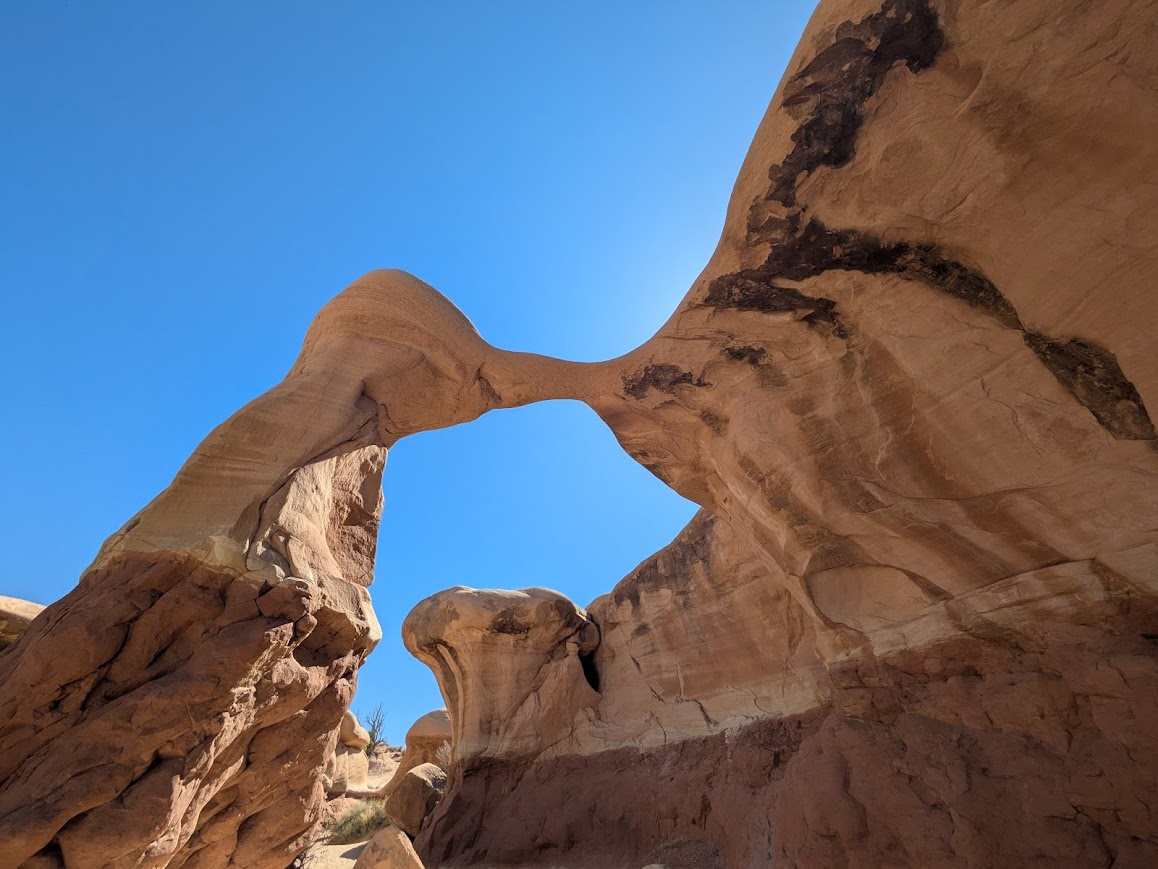
Another detour off the Scenic byway. This was 12 miles down a gravel road. Again slow going as some of it was washboard style and you also had free-roaming cattle that liked to cross the road. The sandstone rock formations were very impressive. It is worth exploring or playing amongst the rocks. Bathrooms are available here. I would say this detour was worth it…not sure the Long Canyon Slot was.
Overlooks
Plenty along Highway 12 to stop and admire. Just make sure it is in an area where cars are able to safely get around you. To keep ourselves on time we only stopped at one where there was a clear turn off. The Head of the Rocks Overlook offers expansive views of the Escalante Canyons highlighting the different colors amongst the rocks.
Are you Prepared?
Do you have enough water?
- At least 4 liters (1 gallon) per person per day
Do you know the weather forecast?
- Desert landscapes can bring the heat!
- Torrential rain can lead to flash floods leaving hiking trails and roads impassable.
- Always always always be aware of weather conditions.
Make sure you have a back-up map!
- These can be remote areas (some more than others) and not all trails are marked.
- Cell phone service is spotty at best.
- Make sure to communicate your location with friends or family members so someone knows your location or destination.
Do you have the right vehicle for what you want to do?
- High clearance vehicle for most roads will do fine.
- If you want to get into the depths of Capital Reef or Grand Staircase-Escalante National Monument then a 4WD vehicle is required.
- Travel times take longer than expected in remote areas make sure you plan your time accordingly to get to everything you want to do
Prepare for the unexpected!